11.20.2013

Mushroom Nail Art

My Color Club - Nomadic in nude seems to be getting a lot of use at the moment! Poor thing, I'll be needing a new one before long.
 
I needed to go in search of some stationary last week, I needed a new file and notebook for my PGCE class on Tuesday...so I dragged my sister to Wilkinson's with me to have a wander around.
I found this cute little letter writing set (which I haven't bought by the way) I restrained myself from getting it as its not what I went for. And...I didn't even buy what I went for in the end, I think I'm going to have to go back to pick up a plain black file and notepad...So forgetful!
Because I didn't buy it I've done some nail art to match it instead.


11.11.2013

NSI Natural Acrylics


Now, I don't usually do acrylics that often because I know how much damage they can cause to your nails.
Normally I would try and talk someone out of having them done but my brothers girlfriend desperately wanted them for her graduation so I gave in.
She wanted them natural but with a decent length so that's what I did.
Here's how the nails looked prior to the acrylics...


I always use NSI products because that's what I used when I was training.
I've had my acrylic brush for over 4years now... I don't think I could ever use another brush again. It's like my little baby, it needs lots of care and attention and I most certainly don't let anyone else use it. We've had one or two incidents in work when the acrylic brush hasn't been cleaned and a big chunk of acrylic has dried in it, Disaster! Thank god I never leave mine there or I think it would end up in the bin after a week or two.
Sam wanted to have clear natural acrylics, and that's what she got. I used NSI purely pink masque powder mixed with the NSI acrylic liquid. To finish off I used China Glaze - Hope Chest with NSI glaze and go over the top.


10.28.2013

Pearl Manicure

I'm not usually into these bright reds or pinks but I really like this colour.
This is one of the new MUA nail polishes, its called Bright Coral and its only £1!
My first thought when I applied it was that its not really coral, I think its more red than anything.
So as usual I was procrastinating and started doing this mani
I applied two coats of MUA - Bright Coral on all nails and before it could dry I started plonking on these little white pearl looking caviar balls to my ring finger, then I made the mistake of thinking
"I'll just stick a topcoat on now...what's the worst that can happen?"
Don't make the mistake I did by being impatient, let the polish dry off for at least 5minutes before you put the topcoat on otherwise your going to have a problem of trying to put all the little pearls back into their places.
 

10.18.2013

Splotchy Accent Nail


Hmm...it looks like I have an addiction with these MUA polishes
At least I'm keeping to my word and uploading more images of the colours I have. I will do some swatches of them as well instead of just nail art.
 
For this manicure I have used
Bright Coral (Main Colour)
Natural Days (Accent Base)
NYC Topcoat


I applied two coats of Bright Coral over all of my nails accept my ring finger which I put two layers of Natural Days on.
I let my nails dry for 5 minutes whilst carefully having a cup of herbal tea...trying to be healthy sucks!
Using my different sized dotting tools I used Lush Lilac, Bright Coral and Frozen Yoghurt and applied different sized blobs all over my accent nails.
I had to wait a further 5minutes for the blobs to dry until I put on my topcoat.
Finished result equals cute shiny splotchy nails =)

MUA Nail Polish Swatches

Okay, so first things first before I start this post I need to apologise for not posting for a LONG time!
I've been so wrapped up in starting my PGCE this September and haven't given a thought to my poor blog.
So I think its time to start blogging again, although I think my posts are going to be a bit scatty. If I get round to it I might even post a few of my lessons up on my blog!
 
Wow!
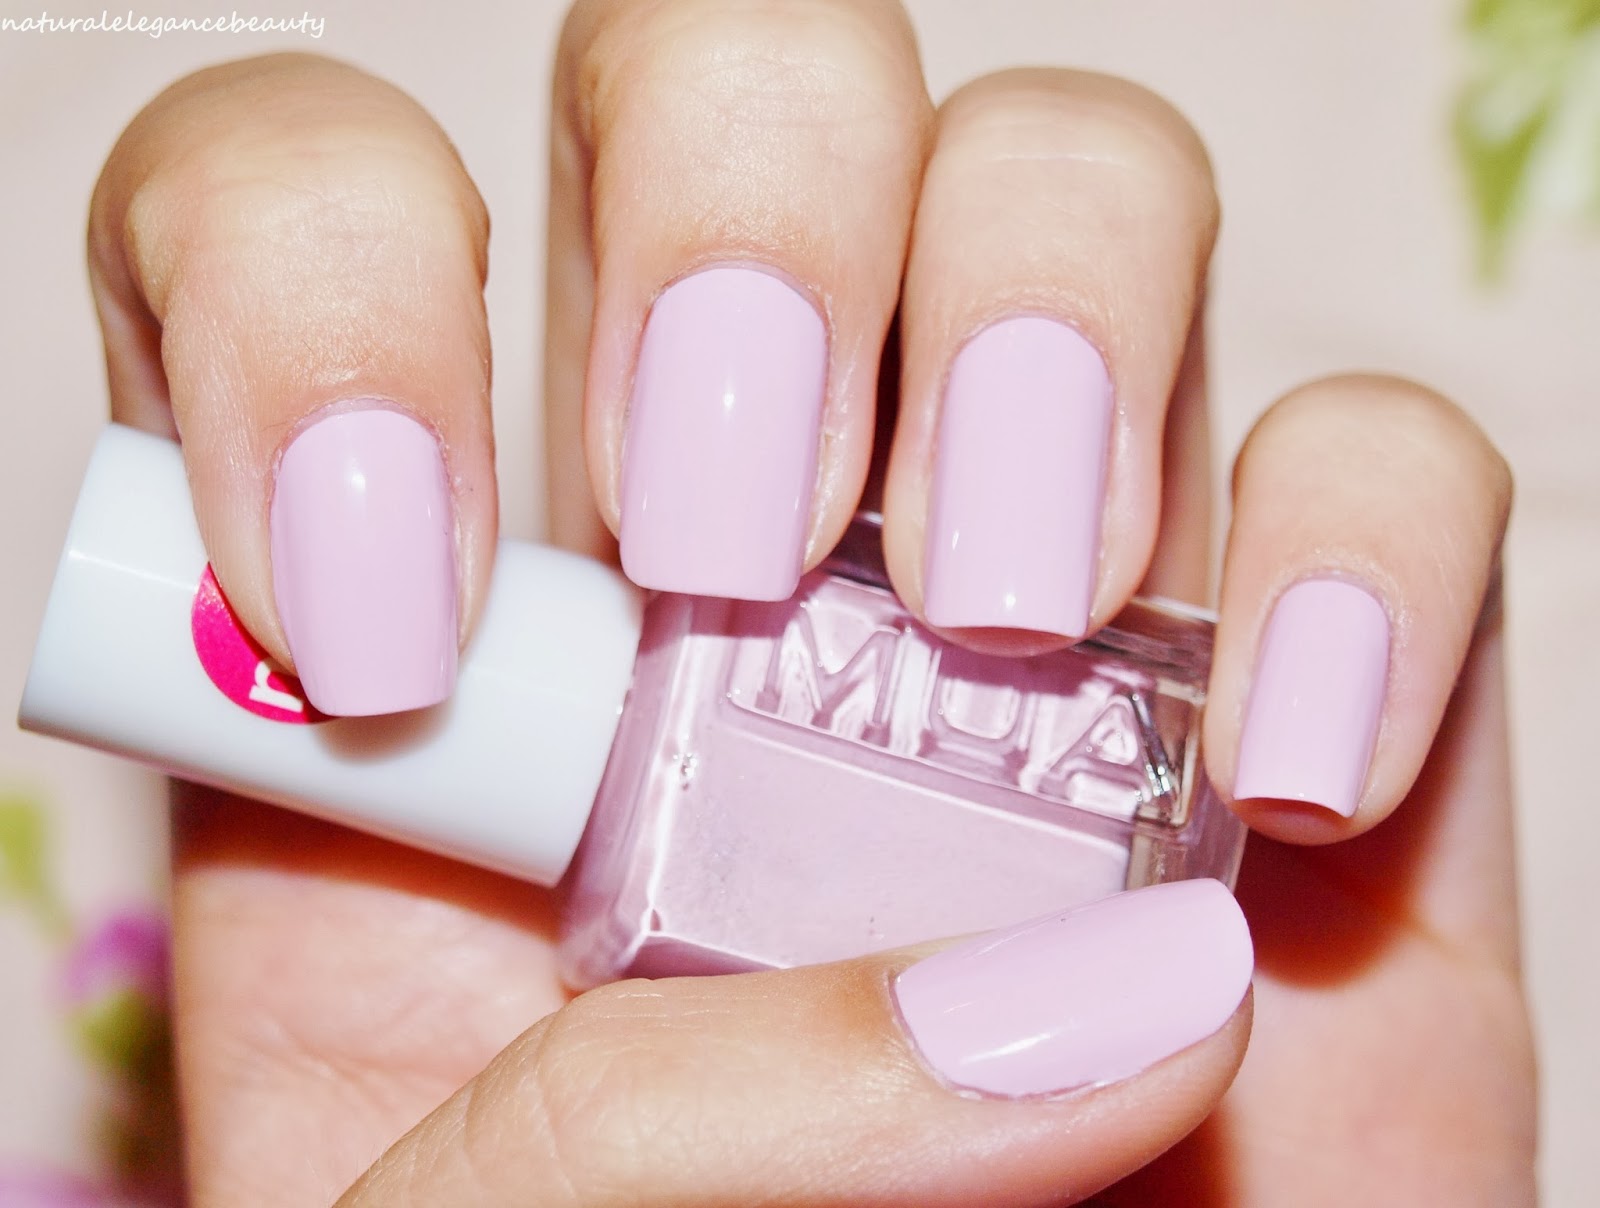
These nail polishes are only £1 from Superdrug...Bargain!
I have a few more pictures of the different colours I have to upload when I get the time.
I've nearly bought the whole range of these new MUA polishes, but the ones I don't have are always out of stock.
Ah well, I will just have to be patient!
 
Well, considering these polishes are only £1 you'd think they'd be rubbish runny polishes where you need at least 3 coats to look good and I'm here to tell you they're not.
These polishes are fantastic for the price, its just a shame they don't do them in bigger bottles because I would definitely buy them.
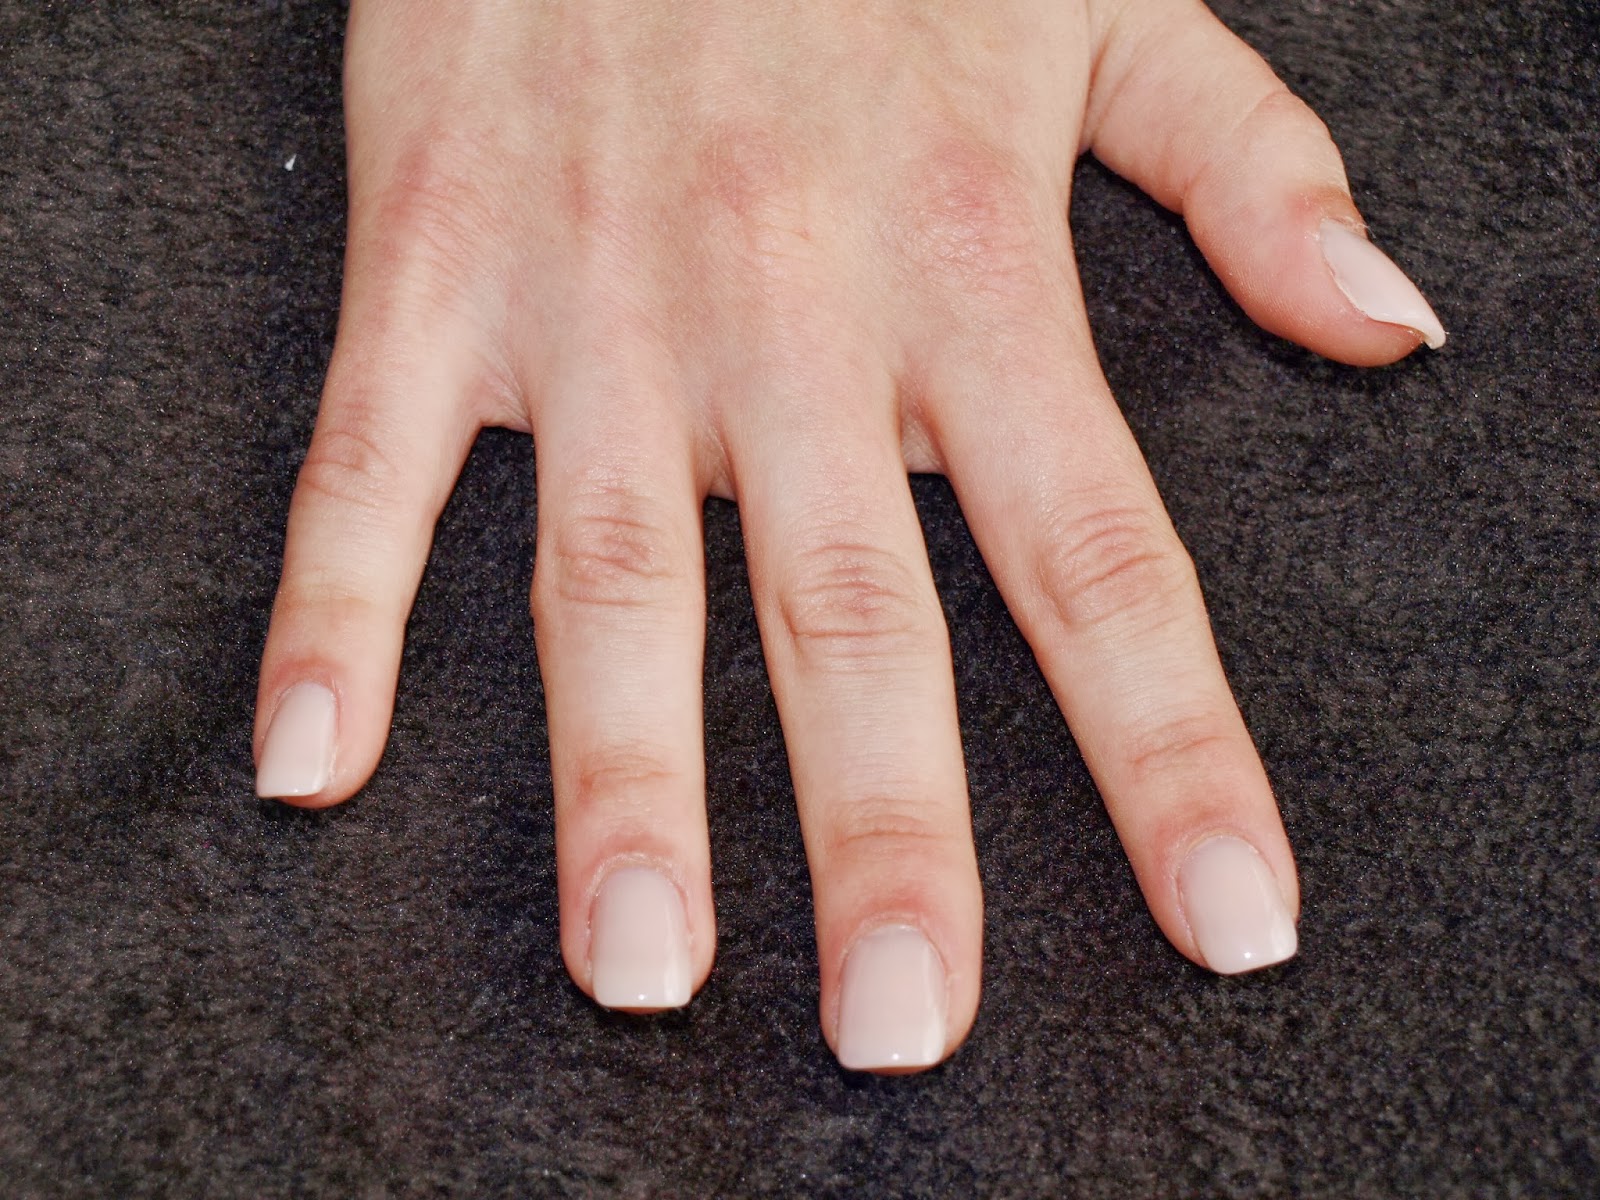
I've done 2 coats of polish on each of these manicures just so you can see what they look like. They definitely need the two coats though, you couldn't ever get away with just the one like you could with some O.P.I polishes, but seriously they're at least £10 cheaper than any O.P.I polish anyway, so who cares?
 
All the polish names below are linked to where I have bought them from


8.19.2013

Jumbled Stripes

 
I don't know what happened today really, this manicure is a lot darker than usual. Ah well its a change from all the light bright colours I've been using lately.
I was in the mood for stripes this morning but couldn't decided how I was going to do them so I started off by applying two coats of Collection 2000 - Wham
I waited 15 minutes for it to dry with a cup of tea and biscuits Mmmm.... such a yummy distraction!
Anyway back to the nail art.. after my polish had dried off enough I started applying my stripes.
I did cheat a little doing this manicure, instead of using nail polish for the stripes I used acrylic paint with a long thin nail art brush. I didn't have a set plan on what colours I was going to do so just picked them out at random and hoped for the best, doesn't look too bad either.
 
 
This is how my nails looked after I'd finished doing the stripes
I think I prefer them looking dull/matte rather than glossy with a top coat.
 
 
Here's how the manicure finished looking with one coat of NYC - Top coat
 

8.18.2013

Hexagon Glitter Accent Nail

 
I wanted some new glitters to add to my collection and have bought some off Ebay before.
 So I decided to get some more from the same place and here's one of them in #5 coffee.
 
When they arrived I wanted to do a manicure with the hexagon glitter ones so I came up with this manicure:
Base colour : Color Club - Nomadic in nude
Accent Nail : Orly - Prince charming
#5 coffee hexagon glitter on accent nail
I used NYC - Top coat to finish off the manicure


8.17.2013

100% Random

This manicure is completely random, I had no idea my nail art for today would turn out like this.
Have you ever made/done something completely random with no intention of using it afterwards?
Well this is one of those things!
I was messing about with some designs for nail art today and the one I was currently doing before I produced this I decided wasn't going the way I wanted so I was just about to remove it from my nails when I just scribbled over my nails with a dotting tool covered in black polish and this is the outcome!
I don't think I could ever create the exact same nail art again though.
I'm actually impressed with how it looks though, I guess sometimes the things you try less with look better.
I used Collection 2000 - Wham as my base colour
O.P.I - Lady in black
NYC - Top coat


8.16.2013

Friendly Hugs

Awww!
I love this manicure, it's not perfect but super cute!
I saw a picture on weheartit of someone's fingertips with smiley faces drawn on with biro.
 I thought it was adorable and wanted to use it to make some nail art
 

I used MUA - Lush Lilac as my base colour.
Then on my middle and ring finger I used O.P.I - Lady in black to draw on the smiley faces and arms.


Watch Inspired Mani

 
I was scrolling through my Instagram a few weeks ago and stumbled across a picture posted by lenailsdream. The picture was of 3 striped watches which caught my attention immediately, one sand, black and a mint green one.
So as you do I decided to create some nail art to match the watch.
(I swear I'm not normal when it comes to nail art)
I was going to do all three colours but chose the sand watch instead.
The watches are from imsmistyle.com you should definitely take a look at the website when you have time. There's some beautiful pieces of jewellery on there.
 
 
To create this manicure I used Color Club - Nomadic in nude as my base colour
I then used white nail tape which I purchased from EBay
To finish the nails off I applied two coats of NYC - Top coat


8.05.2013

Blue Tie-dye

 
Another tie-dye manicure
I'm not one for having a plain colour on my nails often, unless its a colour I really adore!
Mixing colours up on my nails seems to be my thing at the moment, and what better way to have lots of colours than to merge them into a tie dye effect.
Perfect!
Here's what I used and how I did them:


First I applied two coats of Saffron's white polish to my nails and waited 15minutes for it to dry.
If you don't have this drying time you will pull off the white polish on the next step.
After the white is dry apply blobs of your three different coloured polishes over one nail at a time. In my case I used NYC - Blue Sky, MUA - Bold Blue & Jessica - King Tut's Gem.


Then grab a piece of your pre-cut up plastic wallet sheets and place over the blobs of polish and press on lightly.
Don't leave this on for too long, just a second or two so your tie-dye pattern is formed


What a mess!
Time to clean all that polish off. Using your acetone and nail art brush, clean up the remaining polish on your skin.
 
Voila!


I love them
They're like a blue summers sky!
 
Now you've seen how simple this manicure is to create why don't you give it a go yourself with your own favourite colours or try giving it a go with the colours I've used

8.02.2013

Pink Caviar Manicure

This is the first time I have ever tried using caviar.
I actually really like the effect it gives the nails, but cant imagine it would last very long as a nail treatment. I would assume that the little balls would come away from the nail after a day or two.
 
I used MUA - Bright Pink for my main 8 nails
And I bought some caviar nail balls from EBay
Under the caviar balls I applied MUA - Lush Lilac
 
I know that this type of manicure has been used a lot previously, but I personally wanted to try it out on my own nails.

It's super easy to do:
  1. Base coat all 10 nails. By the time you have finished polishing your 10th nail you will be able to start back on the 1st.
  2. Polish one coat of MUA - Bright Pink over all 8 nails. Personally I like to start on my right hand first, I think it's just a habit I got in to and cant seem to break. Don't forget to leave your ring finger bare for a minute.
  3. Apply one coat of MUA - Lush Lilac on your two accent nails
  4. Now you can start with your second coat of polish over all 8 nails again.
  5. Next you need to polish your two accent nails again I'd do these separately just in case the polish dries before you have time to do the second nail.
  6. After you have polished one accent nail, dip your nail in the caviar pot . Using a nail art brush, move any little balls that have strayed and are in your cuticle area. Repeat on your other accent nail.
  7. Last of all you want to clean up any messy polish that's on your skin or around your cuticle with your nail art brush dipped in acetone. Don't forget to apply a top coat to all your pink nails - the caviar nails don't need it


TA-DA!


7.29.2013

Shellac Blackpool


Shellac is my favourite beauty treatment OTM!
 
I love how super shiny it looks on my nails, how it feels so smooth, and how it lasts for two weeks!
I never keep Shellac on for longer than 4days because I get bored of the same colour on my nails.
So today I decided to do something different with my Shellac rather than having a plain colour.
To start off I applied CND Shellac base coat and cured that under my UV lamp for 2minutes. 
Secondly I applied one coat of Shellac Blackpool to the tip of my nail and using the Inhibition remover and my NSI Gel brush I created a smooth smile line, then cured it for 2minutes.
I then repeated the second step to create a dark background for my hexagonal shaped sequins.
I then dabbed some sequins  onto the black tips. If there were any sequins hanging over the black I used my gel brush to push them back into place. To finish off I applied one coat of top coat and cured for 2minutes, followed by wiping over all my nails with the inhibition remover.
And Voila! Black Sparkly French Tips!

7.26.2013

Multi Colour

I can't believe what weather we're having at the moment, its so hot!
I don't ever want it to rain again.
 
All this bright sunshine we seem to be having at the moment makes me want colourful nails.
 
I always have this same problem every time I do my nails though...which is not being able to pick a colour I fancy that day.
But oh no not today!
 
I just picked out 5 different colours because I couldn't decide.
They are all such typical summer nail polishes as well, don't you agree?
 
These are the nail polishes I used:
Little finger - MUA - Frozen Yoghurt
Ring finger - NYC - Blue Sky
Middle finger - MUA - Bold Blue
Index finger - MUA - Lush Lilac
Thumb - Revlon Colorstay - Buttercup


7.22.2013

Mosaic Nails


 Whilst having a look on fashionfacts Instagram one day I found this picture of leggings. They're so crazy that they inspired me to do some nail art similar to them, so I saved the picture to my phone and decided one day I would get round to creating some crazy of my own. Well my friends, that day has come! Obviously there's a lot of detail in this pattern and I'm not fantastic at free hand straight lines so I chose to use my plastic wallet method, personally I think this is the best way to get PERFECT straight lines with nail polish but if any of you guys have a different method that works for you I'd love to know. It does take some time but once you've finished you can sit back and admire your handy work. For anyone who hasn't seen me using this method here's how I made the triangles:
  1. Grab any old plastic wallet you have no use for anymore.
  2. Apply plenty of different colours onto the plastic wallet in vertical lines
  3. Wait until dry
  4. Using a pair of scissors, cut up the plastic wallet with the polish on into lots of different sized triangles
 
 
Here's a picture of how I did the plastic wallet method.


I then painted my nails white and waited until they were tacky


My next step was to apply all of the triangles randomly onto the tacky white polish. Most of the triangles came away from the plastic wallet easily, but some were still wet and wouldn't budge. Luckily I cut out plenty so that when the others had dried off i used them on my second hand.
 
And...Voila! The completed look!


7.14.2013

Wedding Party

Wow, what a weekend!
 
I was invited to a friends wedding party and had never been to one as an adult. Its such a special occasion for everyone involved!
 
The place looked beautiful, and so did the bride.
The decorations around the room were fantastic, the chairs had baby pink ribbons on their backs, the tables had a round mirror in the centre with a large glass bowl filled with water placed in the middle. There were light pink crystals scattered inside and out of the bowl and there was also a flower and floating candles inside the glass bowls. Everything tied in together well and was obviously well thought out.
I wish I had a picture of the cake and sweet cart because the groom's father made both, such a talented man! I will try and get hold of a picture.
 
So, with me having not been to a wedding party before I wasn't quite sure on what to wear. I obviously didn't want to wear white so went for black instead. I found a chiffon dress on ASOS which has a gorgeous sweetheart neckline and a dipped hem, I paired it with some black wedges and a waist belt.
I will have to put a picture on here somewhere when I can find one - I didn't take one myself.
So anyway with the outfit found I thought what can I do with my nails.
I wanted something simple and didn't want anything too bold and what always looks nice and doesn't clash... it had to be a French manicure. But to mix it up a bit I did an ombre French Mani.

Here's a picture I took of them


Now it's time to catch up on some sleep from this busy weekend
 

7.06.2013

Paint Splat Mani

It's time to get messy!  
Such a cool mani; I've had lots of complements and queries on how I did them.
A lot of people asked if they were minx, I was horrified! They look nothing like minx, each nail is inconsistent.
I had lots of fun doing this mani and I know its been done plenty of times before by other bloggers but I wanted to try it out myself and my god its a tricky one!
I was contemplating doing it with acrylic paints or nail polish and decided on the latter but I think my way of doing this was a little unusual from the way I've seen it being done, when I did my geometric mani I realised the tape peeled off the scotch tape, so I tried polish on a plastic wallet and it peeled straight off! so here's what you'll need & how I did it:
You will need :
What you need to do:
  1. Take your plastic bag / sandwich bag and put a finger on the bag, draw around your finger tip and drag the pen down on both sides until you go a bit past your cuticle, remove your finger and join the sides, do this with all your fingers and thumb of course, so they line up in a near enough straight line
  2. Next flip over the plastic wallet and you will be able to see your doodling. Now using your white polish, cover the circles you have drawn entirely and some. you will need a little extra later on for when you peel it off the plastic (don't worry if its not entirely opaque)
  3. Its time for the fun part, grab any of your chosen polishes and using the polish brush cover the end of the straw in polish and try to get about 0.5cm in the straw, you can even push the brush down the straw. Aim the straw at the white on the plastic and blow through the clean end and BAM! splatted paint look. Keep doing this until your happy with the design.
  4. Wait around 10minutes for the colours to dry then apply your top coat then wait another 10-15minutes to dry
  5. Test the polish and if its still wet, wait some more
  6. Your next job is to cut the plastic wallet into strips. turn the wallet over and your circles will still be there, just cut in between them so you have 5/10 rectangles. (Do not cut around the circles because you might cut them to small...that would be a disaster after all that fun you just had making them)
  7. After you've done this you can peel the polish off the plastic wallet, its a little frustrating but persevere as its worth it at the end
  8. Next you need to polish your nails with white polish and stick your ready cut out polish to the semi-wet white on your nails so it adheres - when you apply the cut out polish to your nail try and get as close to your cuticle as you can; you can tidy up later.
  9. So after you have them all applied trim the extra bits off your nail with scissors, then using a nail file straighten up your nails to remove the rest of the hanging polish.
  10. Last of all is tidying up :) dip your brush in acetone/nail polish remover and tidy up any edges that are on your skin around your nails - you can apply top coat if you want put I didn't feel the need to as I'd already done it on the plastic.
  11. Ta-daa! Messy Paint Splat Nails!

Here's my version of the paint splat manicure.
 
 The one other way I have seen it being done is when the paint is blown through a straw onto your nails, now I think that's much to messy and I'd rather go through all the hassle I did to have my nails like this. It is time consuming and you will need patience but at least you don't have to clean up all that polish on your hands and fingers!

7.05.2013

Frog Water Decals

They've arrived, Yay!
 
I love these cute little frog water decals I ordered off Ebay!
They were only £1.25 and arrived in 2days...Fantastic.
Here's the link if your interested link
I've seen that water decals are the popular nail art trend at the moment, and they are so easy to apply, wow! They're super cute so I'll most definitely be ordering more.
Here's what I used and how I applied the water decals:
  1. Water in a shallow bowl
  2. Pack of water decals
  3. Scissors
  4. Polish of your choice
  5. Sponge (for creating ombre effect)
  6. Choice of colours (I chose Jessica - King tuts gem & Saffron London - Colour 11)
  7. Cotton discs
  8. Nail polish remover
  9. Nail art brush (To remove polish off your skin after doing the ombre with your sponge)
For one hand:
  1. Apply white polish all over nail and wait until dry
  2. Soak a make-up sponge in your water bowl and squeeze until its only damp
  3. Apply a line of white polish on the sponge and then blue polish directly underneath the white - overlap them slightly
  4. Dab the sponge on your nail until you get your desired look and then wait until your polish is dry - if your polish isn't very thick, just wait until its dry and then apply another layer.
  5. Cut around your water decals shape (just a square will do but get as close to the pattern/shape as you can)
  6. Place the cut up water decals in the water and wait 30 seconds to soak
  7. Pick out your water decals and the pattern should come away from the paper its placed on
  8. Apply the shape/pattern where you would like it to be on your nail and apply pressure to squeeze water out from underneath
  9. Using a cotton disc, dab over the top of the water decal to remove excess water
  10. Tidy up any excess polish on your skin with you nail art brush and nail polish remover
  11. To finish off apply top coat


Ta-da!